Friday, April 29, 2011
Region Change
I recently found out where one of my two Italian Grandmas is from, and the region she is from (Piemonte) is not on my list. The idea behind this project came from learning more about my family's history, so I am taking Abruzzo off the list and adding Piemonte.
Emilia Romagna


The first course of this meal was the Sweet and Sour Little Onions. Pealing the onions was by far the hardest part of this dish. The goal was to keep the onions intact, and it was very time consuming. Once they were all pealed I boiled them for about 20 minutes, so they were cooked but not falling apart. I then strained the water, and patted the onions dry with a towel.

I then caramelized the onions in sugar and balsamic vinegar and they were delicious!

I'm getting much better at making pasta dough, so it wasn't very difficult for me this time. When the recipe says add water or oil in small amounts until it is the correct consistency, I actually know what it means now!

After baking the squash coated in salt, I had to squeeze it in a cloth to remove all of the excess liquid. This was an important step because the liquid would lead to soggy cappellacci. I didn't have the appropriate cheese cloth, so I just used a dish towel, which made it take a little longer than it should have.
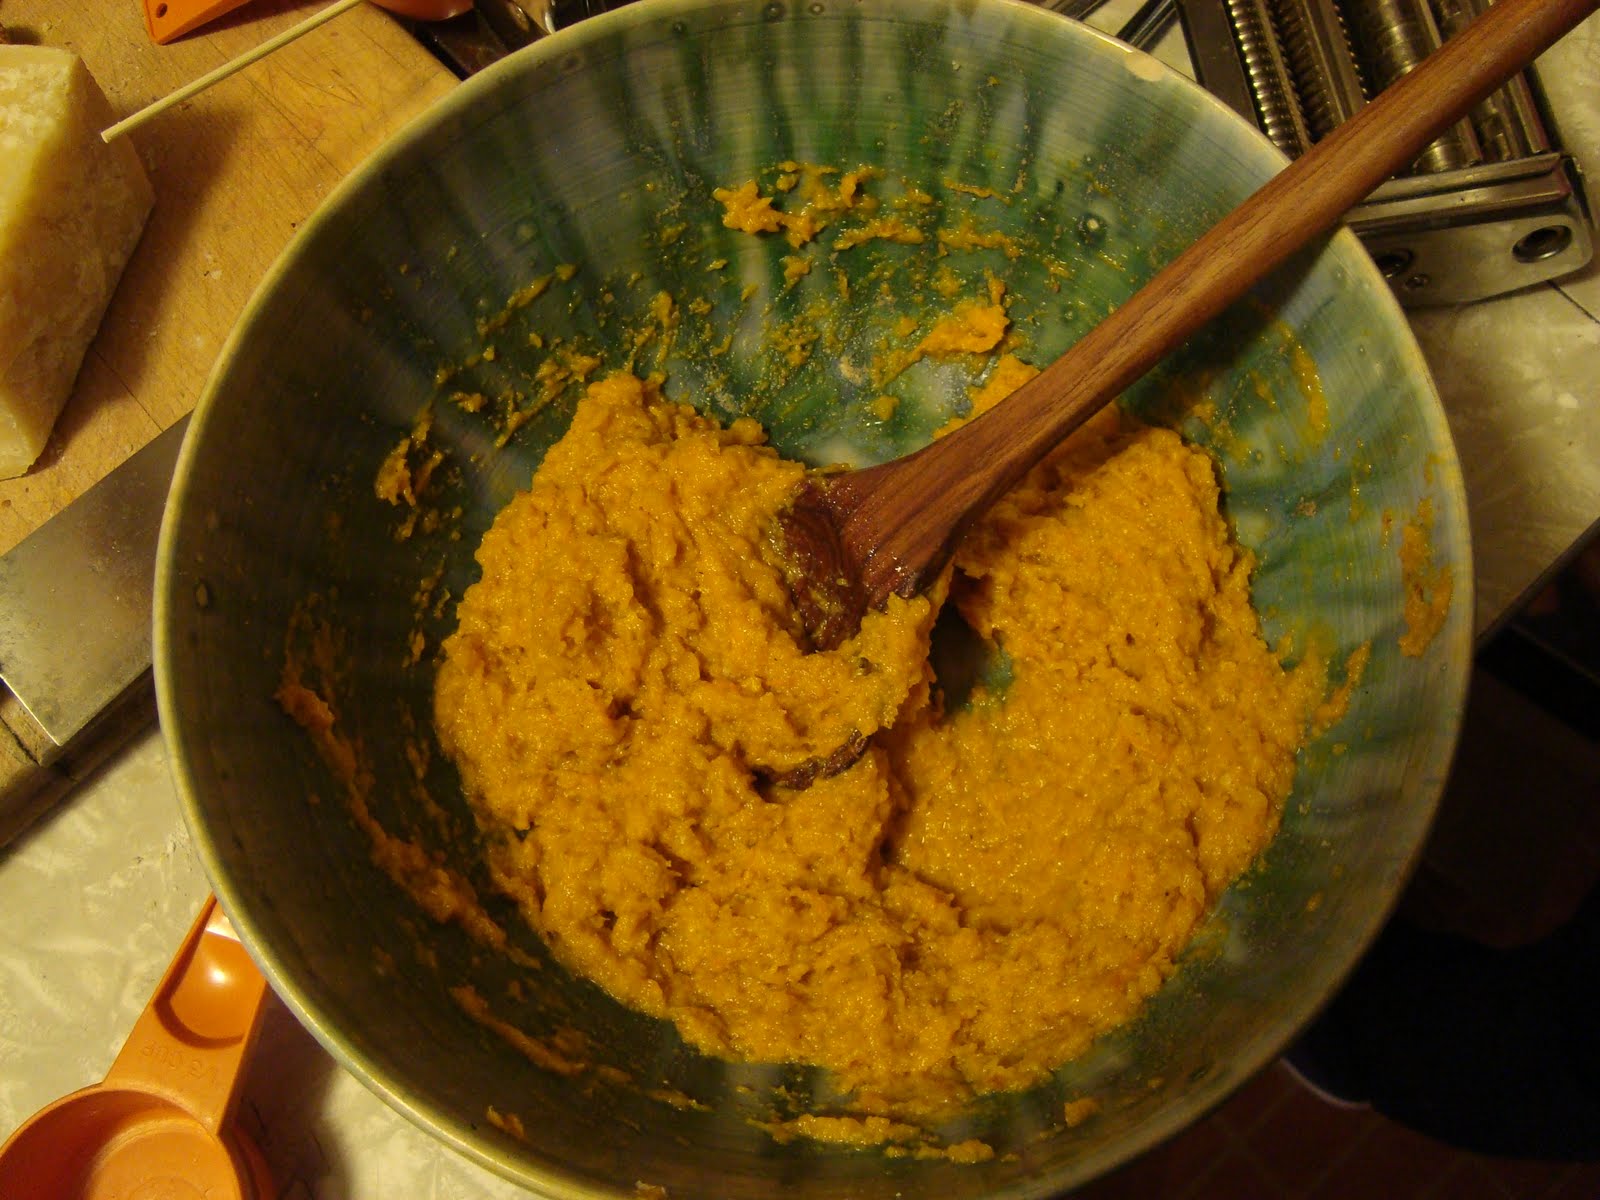
To make the filling I mixed the squash, nutmeg, parmigiano cheese, zest of a lemon and egg until it was a smooth consistency.

I used the pasta maker to roll out this dough, and my dad helped me to finally master it. He taught me that the cause of the bubbles in previous pastas I have made with this machine is that I start on too high of a setting. You need to start with the thickest possible setting, and work your way down to the thinnest on each strip of pasta you make. To form this pasta I made two strips of relatively equal size at the same time. On the first strip I placed small amounts of the filling spaced out across it, and then wet a circle around each pile with water. (So the second strip sticks better) I then used my make shift pasta cutter (the top of a tea can) to cut through both strips at the same time around each pile of filling.

To shape the cappellacci I folded each circle in half, folded the dough around the ball of filling in the center, and twisted the ends together to seal it. The first few times I tried I folded it the wrong way, so instead of forming a circle around the ball of squash, the dough was all on one side, and the pocket of filling was on the other. I realized that that's not what cappellacci looks like, so I started making it correctly.

To dress the pasta I made sage butter, which is just as it sounds: butter melted with sage in it.

After the pasta was cooked, I strained it and placed it in the pan of butter. This flavors in this dish reminded me of pumpkin ravioli that I have had at Zaza's Cucina (the family who owns it come from Emilia Romagna) only it was better because I had made it myself!

The first step to making the almond cake was baking chopped up almonds and sugar. I left it in the oven a little bit too long, and the melted sugar was pretty hard to get of the baking sheet, but I didn't burn it which was a success.

I have never been fully successful with my deserts in this project, and this one was no different. It tasted ok but it was crumbly and very hard at the same time. There was a lot of lemon zest in it, which added a lot of great flavor, but it was a little too sweet for my taste.
This meal was incredibly time consuming, but it was well worth it because it was all delicious!
Emilia Romagna Menu
Some of the most well known Italian foods come out of Emilia-Romagna. These foods are used all over the world, and attempts to duplicate them are often made to no avail.
Some of the world famous Emilia-Romangnian foods are:
Some of the world famous Emilia-Romangnian foods are:
- Parmigiano-Romano (Parmesan Cheese)
- Prosciutto
- Balsamic Vinegar
- Totellino and Cappellacci (I can't really find a difference)
- Bologna
- Sweet and Sour Little Onions
- Cappellacci with Squash and Sage Butter
- Almond Cake
Wednesday, April 13, 2011
Progress
Regions covered so far:
Regions I still need to cover:
- Sicily
- Sardinia
- Liguria
- Trentino-Alto Adige
- Valle d'Aosta
- Lombardy
- cheese making day
- Emilia-Romagna (this week)
Regions I still need to cover:
- Basilicata
- Molise
- Abruzzo
- Umbria
- Tuscany
Thursday, April 7, 2011
Ricotta Cheese
The ricotta cheese worked very well for me. The recipe is a lot simpler than the mozzarella recipe, and there is less room to mess it up. You heat the milk, citric acid and salt to 195 degrees, and the curds that it forms are much smaller than those in the mozzarella.

I then hung the curds over my sink in a cheese cloth for about 45 minutes to drain the excess whey.

The resulting cheese was delicious. It was creamy and not too salty like some store bought ricottas. I was very happy with the way it turned out. I'm not sure what I want to do with it yet, but my dad says it would be perfect for cannoli.
Mozzarella Cheese

The first step was to heat the milk up and add citric acid and rennet. It formed these curds that look a little like yogurt.

I then ladled the curds out, and pressed out the excess whey.

I placed the curds in a bowl, and poured 180 degree whey over them to melt the curds. I then used spoons to push the curds into one large curd, and picked it up out of the water. At this point you are supposed to be able to stretch the mozzarella but mine broke apart, so I decided to break it into two smaller curds and try with hot why again. This part of the process was frustrating for me because it never really stretched, no matter how hot the whey was.

Once I had stretched it to the best of my abilities, I formed it into little balls and placed them in cold water.

The end product was tasty, but not as smooth as mozzarella usually is.

We used it on pizza for dinner. It only melted on one of the two pizzas, but it tasted great on both!
Lombardy Meal

The first thing I made from Lombardy was Risotto. The recipe was originally supposed to have the freshly picked stems of wild bladder campion, but that doesn't exist in Ithaca in early April. When reading about what bladder campion is, it said that it was similar to wild asparagus. We don't have that in early April either, but I saw that Wegmans had really thin tender asparagus so decided to substitute it for the campion.

The first step of making risotto is sauteing the onions (or other veggies) in butter. You then add all of the dry rice and coat it in the butter you used while sauteing, which is what you see above. Once it is all coated, you add the vegetable broth. This is done in half cup increments, and takes about an hour. Once the previous half cup of liquid is completely absorbed into the rice, you add the next one, stirring constantly until the rice is al dente.

I added the asparagus at the last minute so that it wouldn't overcook, and it was cooked perfectly. I think the rice could have used a little more liquid, but it is hard to get risotto perfect so I was very happy with the final product.

The first step to making the pear tart for desert was simmering the sliced pears in red wine, cloves, cinnamon sticks, and sugar. This took a lot longer than I was expecting, but I put it on early so it wasn't a problem.

I ran into a few problems with the crust. It wouldn't stick together like a normal dough, and I'm not sure if this was because I used whole wheat flour or because I added the melted butter when it was still extremely hot. I was supposed to roll out the dough like a normal pie crust and then roll out strips to criss cross on top, but there was no chance of this dough rolling. I ended up just lining the pie pan with it and pressing it down with my fingers. It reminded me a little of a graham cracker crust.

Even though the dough didn't turn out like it was supposed to, the tart was delicious. I actually think it was better than it would have been with a normal pie crust. I usually hate crust and my sister eats it for me, but this crust was really good. The recipe said that the tart come into it's true fragerance about 24 hours after being baked, and I would definitely agree with this. The first night it was tasty, but fell apart in my plate, and the second day it stuck together and was delecious.
Subscribe to:
Posts (Atom)